I am asked often what can a CCW permit holder do away from the range to improve their skills. While I’ve discussed dry fire in other articles, this is on a pair of basic, nay, essential skills. Draw-stroke and Presentation, and then Trigger Control.
A solid draw-stroke and presentation from the holster is an essential skill to all defensive handgun application. A poorly executed draw and presentation means when you need your CCW handgun the most, you’ll be late, off target, and probably lose your life. Practice your draw stoke as if your life depends on it because it does.
You can train this skill set more easily than most as dry fire or use of a training device such as a Blue Gun work well. This also helps make precious ammo spent later on in live fire training more effective.
 HOW TO TRAIN: Start dry fire (see dry fire directions on CCWguardian.com) and be sure to practice at no more than half speed. The key to a solid technique is to visualize the proper steps and then repeat them correctly hundreds of times over a period of weeks and months.
Success comes through good repetition not trying to be fast. Like a golf or tennis swing it helps to get professional basic instruction in proper technique, but to get you started we have a video on draw-stroke and presentation technique at CCW Guardian.com.
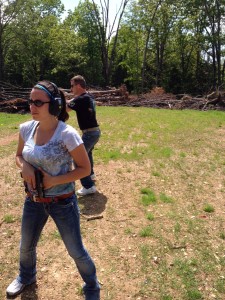
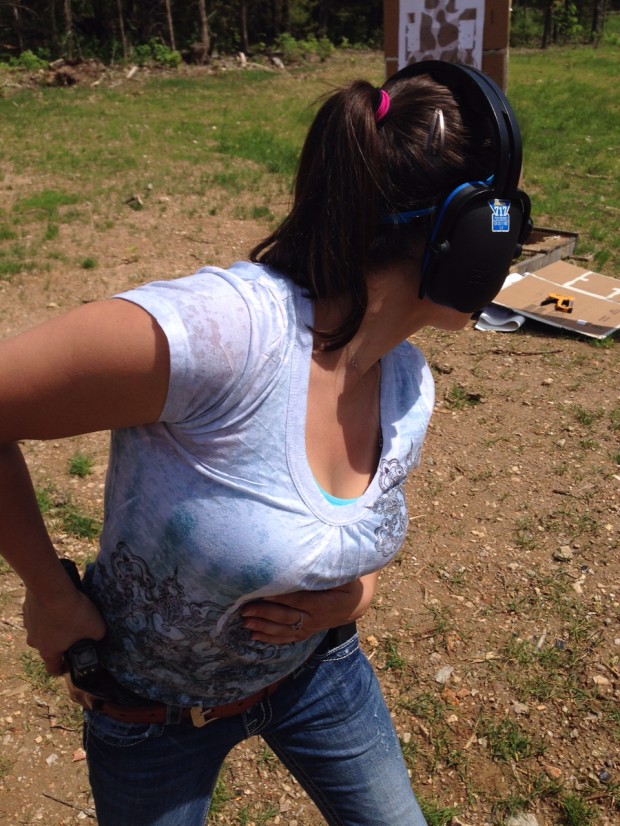
First is a correct grip while still in the holster. Break (or disengage) all safety retention devices. Ensure your support hand is on your lower chest and your weapon side arm’s elbow is pinned back and not “chicken winged” out. Picture a bungee cord stretched taught from your weapon side elbow to the center of your shoulder blades. Keeping your gun arm elbow back means a faster and more efficient draw.
Next pull the weapon out and straight up level. Don’t “sweep draw” the muzzle but level it on target as soon as it clears leather. Or, well nowadays, plastic. Anyway there’s no reason to draw so that the muzzle sweeps the ground on its way to the target. It’s inefficient, slow, and well, bad form. Get the slop and wasted movement out of the draw-stroke or be second place in the gun fight.
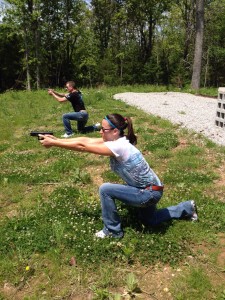
From that good, level muzzle on target position immediately press the weapon straight out from the shoulder, smacking into your support hand as the gun passes it. By now now in your peripheral vision you can pick up your front sight. Find it, watch it intently, and put it on your target. Your focus should always be on the front sight.
When you’re on target and ready to fire, place your finger on the trigger and follow the directions below to best activate the launch sequence. Once you’re no longer ready or need to fire, take your finger off the trigger.
Reverse this procedure to put the gun back in the holster. Once you’ve got the skill down, go to range and slowly repeat these draw-stroke and presentation drills live fire. Draw and fire one round, repeating until you can draw and hit the target at 7 yards almost with your eyes closed. Then go to pairs, and keep training.
*****
Next is Trigger Control. The key to accuracy and quick follow up shots is trigger control. Trigger control is comprised of several successive elements designed to activate the weapon’s action while not disturbing the sight picture on target, recover as quickly as possible, and set up the sequence for more controlled potential follow on shots. It is arguably the most important element in an accurate shot. It means not slapping the trigger or taking your finger all the way forward during the firing sequence which wastes time when you need to have two or more quick accurate shots on a threat. All this must be done instinctively to allow your mind to focus on looking for and discriminating threats, moving to cover, searching for an escape route and a thousand other things. Practice trigger control until it’s instinctive so you don’t have to stop and think about it.
Trigger control is comprised of: 1. proper finger placement, 2. a smooth press rearward to achieve a compressed surprise break, 3. resetting the trigger by keeping it locked to the rear during the initial recoil and then releasing it forward only to the point the action re-engages, or “reset point” and lastly, 4. holding the trigger at the action’s reset until you decide to fire again or disengage and take your finger all the way forward and off the trigger.
 HOW TO TRAIN: This can be done dry-fire with the help of a partner (see dry fire instructions on ccwguardian.com.) With an empty gun align the sights on a target and with a sharp front sight focus, press (don’t squeeze or jerk) the trigger rearward slowly until the action breaks. Lock the trigger to rear while your partner works the slide for you to reset the action. Still watching the front sight, release the trigger slowly to the reset. Hold it there, then press the trigger again. Repeat several times until you intuitively know how much to release the trigger to achieve the reset.
Then practice live fire. Start by saying out loud the word, “trigger” after firing a shot as you reset the trigger. It should go something like, *BANG*, “trigger!” *BANG* “trigger!” *BANG* “trigger!”
Sounds silly, but it works. Watch the front sight of course as you practice this. Next replace the word “trigger” with the word, “and” – carefully watching the front sight and resetting your trigger as you say “and” out loud.
As in: *BANG* “and!” *BANG* “and!” And so on. This should help make trigger control more instinctive as while shooting, staring at the front sight, and talking out loud you can’t do anything else. Like jerk the trigger.
Well that’s a pile of things to get done. When you’ve completed your training, don’t forget to use your CCWGuardian app on your smartphone to document your training as a hedge against liability.
Best of luck, and let us know how this article helps.


